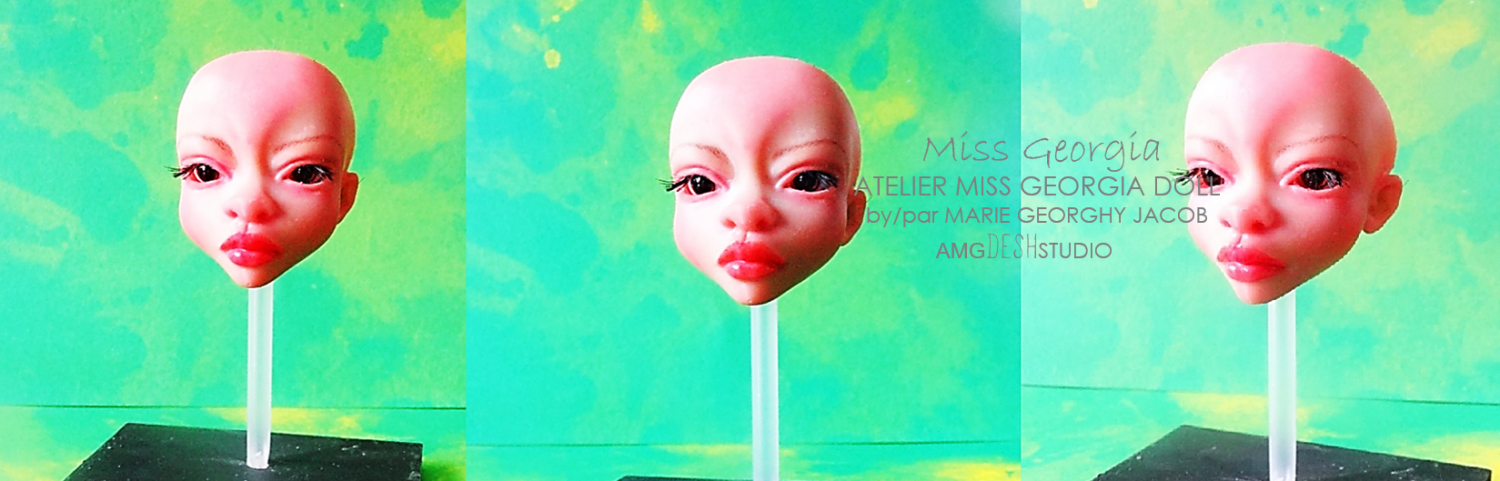
Doll progression…

Doll working progress/ La poupée en progression

That’s what my doll looks like… I am far from finished since several polymer clay balls will have to be made to allow the doll to be articulated.

Voilà à ce que ressemble ma poupée… Je suis loin d’avoir terminé puisque plusieurs boules en pâte de polymère devront-être réalisées pour permettre à la poupée d’être articulée.

Sculpting continues

Good morning! The sculpting continues and goes well. I hope to finish this long sculpting by next week, because then, I will have to cut some parts of the doll. These parts are the knees. Also, I will have to realize the arms, elbows and feet. In the meantime, my biggest job will be engineering.

Bonjour! Le modelage se poursuit et se déroule bien. J’espère de terminer ce long modelage d’ici la prochaine semaine, parce que, par la suite il me faudra couper certaines parties de la poupée. Ces parties sont les genoux. Aussi, il me faudra réaliser les bras, les coudes et les pieds. Entre-temps, mon plus gros travail sera celui de l’ingénierie.

Work continues

My modeling continues and things are going smoothly. Apoxie clay is extraordinary to use. I have to smooth the still soft surface, with a little hand cream. This helps the clay to harden evenly. However, given the high cost of apoxie clay, I’ve decided to continue with polymer clay which is just as convenient.

Mon modelage se poursuit et les choses vont rondement. La pâte d’apoxie est extraordinaire à utiliser. Je dois lisser la surface encore molle, avec un peu de crème pour la main. Ce qui aide la pâte à durcir uniformément. Toutefois, vue du coût élevé de la pâte d’apoxie, j’ai décidé de continuer avec de la pâte de polymère qui est tout aussi pratique.

Apoxie Clay

Good morning everyone! What was supposed to happen, well did happened: I stopped using air drying clay. This clay doesn’t dry fast enough for me to keep molding with it and it’s frustrating. So, to remedy the situation, I decided to continue with apoxie Clay. A more expensive material, but worth using and hardening in 24 hours.

Bon matin à tous! Ce qui devait arriver est arrivé : j’ai cessé d’utiliser la pâte à papier. Cette pâte ne sèche pas assez vite pour que je puisse continuer à modeler avec et c’est frustrant. Donc, pour remédier à la situation, j’ai décidé de continuer avec de la pâte d’apoxie. Une matière plus dispendieuse, mais qui vaut la peine d’être utilisée et durcit en 24 heures.

The work has began

Hello! This is where I’m at with my work. I give myself at least a month of work before I see the first results, because the air drying clay dries slowly.  In the meantime, I will work on the engineering of my doll and in the next post, I’ll show you with more details this ingenery. See you on the next post.

Allô! Voilà ou j’en suis rendue avec mon travail. Je m’accorde au moins un mois de travail avant de voir les premiers résultats, parce que la pâte à papier sèche lentement.  Entre-temps, je vais m’affairée sur l’ingénierie de ma poupée et dans la prochaine publication, je vous montrai avec plus de détails cette ingénierie. À bientôt.

Air drying clay

Good morning! Finally, I started with air drying clay. On top of my drawing, I traced in red, internal shapes. These internal shapes will be cut, so that I can sculpt a Styrofoam sculpture that will be wrapped with a layer of of air drying clay. Each layer of air drying clay applied, will take at least two days to dry well before I can continue to sculpt anything.

Bon matin! Enfin, j’ai débuté avec la pâte à papier Sur mon dessin, j’ai retracé en rouge des contours internes. Ces contours internes seront coupés afin que je puise sculpter une forme en styromousse qui sera enrobée d’une couche de pâte à papier. Chaque couche de pâte à papier appliqué prendra au moins deux jours à bien sécher avant que je puisse continuer à modeler.

Technical drawings

Good morning, everyone! In my last post, I talked about the next step of AMG DOLL. This next step is the creation of a doll with Barbie’s doll measurements, 12 inches high (30 cm) and to get there, I have developed technical drawings that I will use for the creation of a mannequin in Styrofoam. But before I will have to trace the silhouette on Graph paper. What you will see in my next post.

Bon matin tout le monde! Dans mas dernière publication j’ai parlé de la prochaine étape de AMG DOLL. Cette prochaine étape est la création du poupée aux mensurations de Barbie, soit 12 pouces de haut (30 cm) et pour y arriver, j’ai élaboré des dessins techniques que j’utiliserai pour la création d’un mannequin en styromousse. Mais avant je devrai retracer la silhouette sur du papier quadrillé. Ce que vous verrai dans ma prochaine publication.

What’s next for AMG DOLL

Good morning, everyone! After ten years of making dolls of all kinds, many of you are wondering what will be the next step for AMG DOLL in terms of dolls? Don’t worry because this is a question, I’ve been asking myself throughout the last couple of years. I want to avoid going around in circles with my dolls. I want unique dolls that I want to make with pleasure. But, to get there, I have to produce a few for well-defined collections. To achieve this, I plan to create silicone reproduction molds. These dolls will be smaller, with the measurements of the Barbie and Blythe dolls. Stay tuned for what’s next.

Bon matin tout le monde! Après dix années à réaliser des poupées de toute sorte, plusieurs parmi vous ce questionnent qu’elle sera la suite pour AMG DOLL en matière de poupée? Ne vous inquiétez pas parce que c’est une question que je me suis posée tout au long des deux dernières années. Je veux éviter de tourner en rond avec mes poupées. Je veux des poupées uniques que je souhaite réaliser avec plaisir. Mais, pour y arriver, je dois en produire quelques-unes pour des collections bien définies. Pour y arriver, je compte créer des moules de reproduction en silicone. Ces poupées seront plus petites, soit dans les mesures des poupées Barbie et Blythe. Reste à l’écoute pour la suite

Former clothing line!

Good morning, everyone! To start this new month, I would like to thank you for all for your support and interest in my work, and would like to share with you some photos. These photos are my fashion creations under the label of Marie George Montreal. A doll clothing line that I created between 2008-2011. These clothes were made exclusively for the dolls I was collecting at the time and also sold on Ebay. Thank you all and we will see each other in the next post.

Bon matin tout le monde! J’aimerais vous remercier pour tout votre soutient que vous portez pour mon travail et pour commencer ce nouveau mois, j’aimerais partager avec vous quelques photos. Ces photos sont mes créations modes sous l’étiquette de Marie George Montréal. Une marque de vêtements de poupée que j’ai créé entre 2008-2011. Ces vêtements étaient réalisés exclusivement pour les poupées que je collectionnais à l’époque et vendait aussi sur Ebay. Merci et nous nous rêverons au prochain post.

Exploring resin BDJ DOLLS

I promised myself to move on in the middle of 2020 and resin was my next challenge of choice. I was just at that stage. The steps for creating resin dolls were quite similar to those of porcelain, but less laborious. I had used the same pieces of the BDJ porcelain dolls and created others in polymer paste.

For the elaboration of silicone molds, I needed two tools: the vacuum chamber and the pressure chamber. Their functionality is different. The first, the chamber to be emptied is used to remove air bubbles in the silicone. The second, the pressure chamber, is used to reduce the air bubbles that are found in the resin. On the other hand, unlike the chamber to be emptied, this tool must work with the help of an air compressor. As you can see, expenses can be considerable.

Once the silicone molds were finished (a week of work), I still had to store them in my cabinet out of the humidity and in the shade. Then, embalmed baby powder on all molds. Next step was the casting of the polyurethane resin which hardened in three minutes! Wearing a lab coat, mask and gloves were required. In addition to the toxic smell, the resin is damaging to the skin and respiratory tract.

My first pieces made were chess! I didn’t understand anything about it. I couldn’t see what wasn’t working and something was wrong and persisting. It was then that I realized that the casting tunnels were too narrow for the circulation of the resin into liquid. The process was tricky, but fortunately my first ones were just casting tests.

Then will come, the long and laborious work of sandblasting and drilling and widening the tunnels and holes of each part of the doll. Safety was paramount! Gangs, lab coat, hair net, protective glasses and mask with filter were all a necessity! Not to mention that I needed good lighting and do it all in a well-ventilated room. The final assembly of the doll was done with elastics.

In total, it took me more than six months of work to make my first BDJ resin dolls and in total six dolls were created.

Je me suis promise de passer à autre chose vers le milieu de l’année 2020 et la résine était mon prochain défi de choix. J’étais tout simplement rendue à cette étape. Les étapes pour la création de poupées résines étaient assez similaire à celles de la porcelaine, mais moins laborieuses. J’avais utilisé les mêmes pièces des poupées BDJ porcelaine et créée d’autres en pâte de polymère.

Pour l’élaboration des moules de silicones, il me fallait deux outils: la chambre à vider et la chambre à pression. Leur fonctionnalité est différente. La première, la chambre à vider est utilisée pour enlever les bulles d’air dans le silicone. La seconde, la chambre à pression, est employée afin de diminuer les bulles d’air qui se retrouvent dans la résine. Par contre, contrairement à la chambre à vider, cet outil doit fonctionner avec l’aide d’un compresseur d’air. Comme vous le voyez les dépenses peuvent-être considérables.

Une fois les moules de silicone étaient terminés (une semaine de travail), Il me restait à les entreposer dans mon armoire hors de l’humidité et dans l’ombre. Puis, embaumés de la poudre pour bébé sur tous les moules. Prochaine étape était le coulage de la résine de polyuréthane qui durcissait en trois minutes! Le port d’un sarrau, d’un masque et de gants étaient nécessaires. Outre l’odeur toxique, la résine est dommageable pour la peau et les voies respiratoires.

Mes premières pièces réalisées étaient des échecs! Je n’y comprenais rien. Je n’arrivais pas à voir ce qui ne fonctionnait pas et quelque chose clochait et persistait. C’est alors que je réalisais que les tunnels de coulage étaient trop étroits pour la circulation de la résine en liquide. Le processus fut délicat, mais heureusement que mes premières n’étaient que des tests de coulage.

Puis viendront, le travail long et laborieux du sablage et du perçage et d’élargissement des tunnels et des trous de chaque partie de la poupée. La sécurité était primordiale! Gangs, sarrau, filet pour les cheveux, lunette de protection et masque avec filtre étaient tous une nécessité! Sans oublier qu’il me fallait un bon éclairage et réaliser le tout dans une pièce bien aérée. L’assemblage finale de la poupée se faisait avec des élastiques.

Au total, il m’a fallu plus de six mois de travail pour la réalisation de ma première poupées BDJ de résine et au total ce sont six poupées qui ont été créées.